A revolutionary new scanning technology
A revolutionary new scanning technology
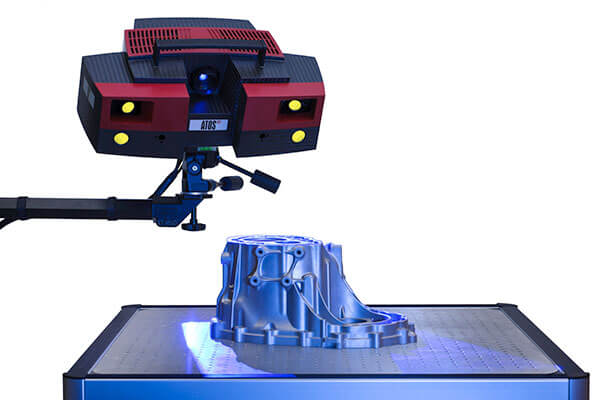
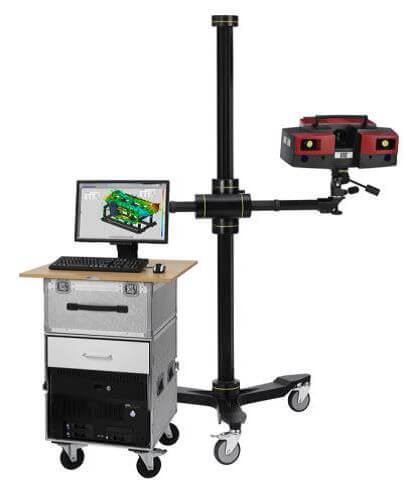
CMP has recently enriched its equipment range with a new system, the ATOS II TRIPLE SCAN equipped with the TRITOP portable measurement system.
Thanks to GOM's all-new Narrowband Blue Light technology, the system achieves high measurement accuracy and comprehensive data on complex components - all with fewer scans and regardless of ambient light conditions.
Accuracy, measurement resolution and measurement area are fully adaptable to the needs of individual applications.
High resolution cameras up to 16 megapixels and special optics allow you to measure a wide range of details, from highly detailed small components to large components with measurement volumes up to 2m. Used in conjunction with the TRITOP system, the ATOS is capable of scanning components larger than 10m with high local resolution.

The TRITOP portable optical measurement system uses a digital camera equipped with a special sensor. The system detects the coordinates of three-dimensional objects quickly and precisely without any contact with the controlled part. As with contact machines, TRITOP records the coordinates and their orientation in space for any feature of interest: points and sections on surfaces, holes, slots, edges, diameters, lengths, angles ...
After the 3D coordinates have been determined, the measurement is mathematically transformed into the coordinate system of the reference component: RPS, alignment by constraints, best-fit, ...
The measured and aligned data can be used for comparisons with CAD data, verification of shape and position tolerances, verification of specifications from drawings or files, ...
The ATOS TRIPLE SCAN system is a solution that adapts to different fields of application, such as:
- Obtaining the dimensional ratios of first samplings
- In-depth dimensional analysis
- Reverse engineering
- Rapid prototyping
- Quick milling.
For more information visit the website www.gom.com .

Contact us and we find the solution for your needs
Since 1992, we have been supporting companies in solving problems related to dimensional measurement and verification by also tackling customised projects.